
Top 10 Mistakes to Avoid When Installing Drywall Partitions

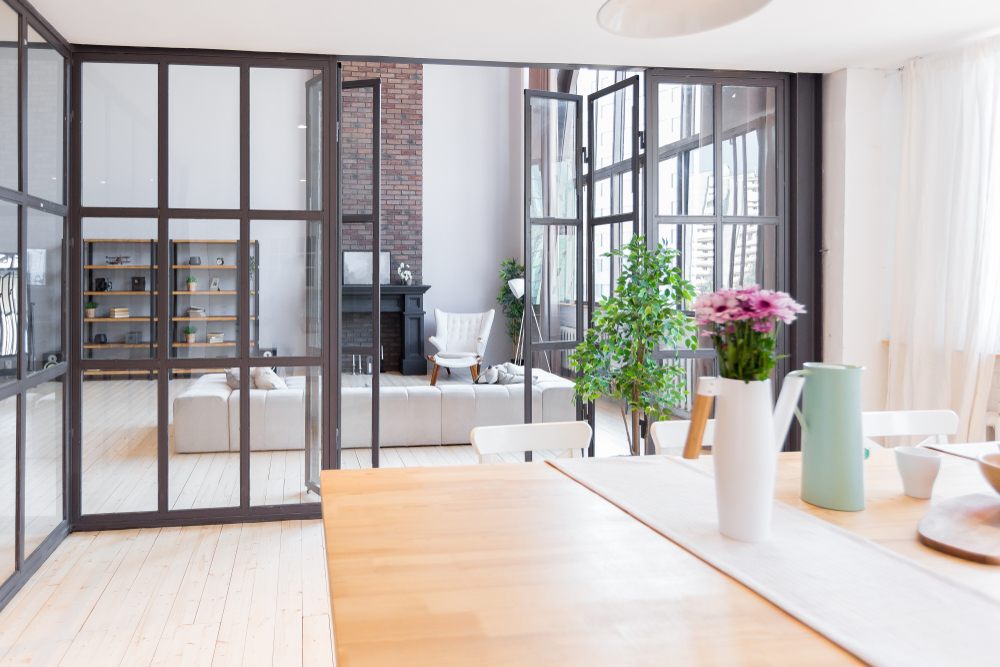
In how many ways can homes and workplaces be organized? One such method is the use of drywall partitions. Durable generally, due to improper installation, partitions can be of low quality and do not stand out for their durability.
Many people must correct their mistakes when putting up these walls, which can lead to trouble. This article will cover the top five mistakes to avoid. Paying attention to these details upfront will save you headaches later on.
Are you ready to learn how to hang partitions correctly? Keep reading for tips on ensuring a smooth process and long-lasting partitions.
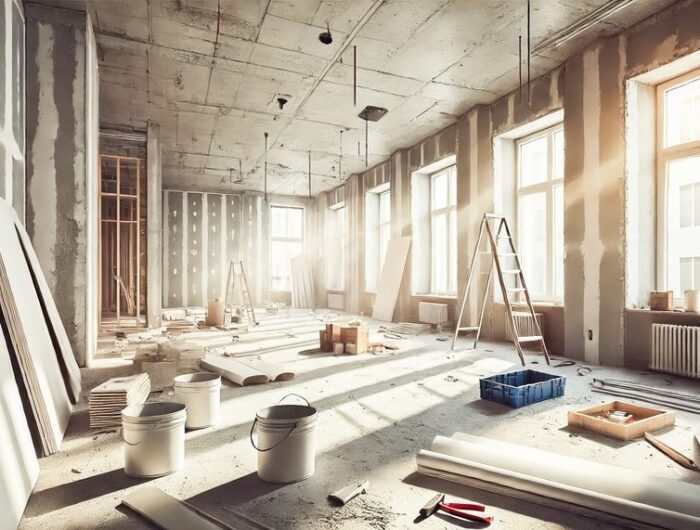
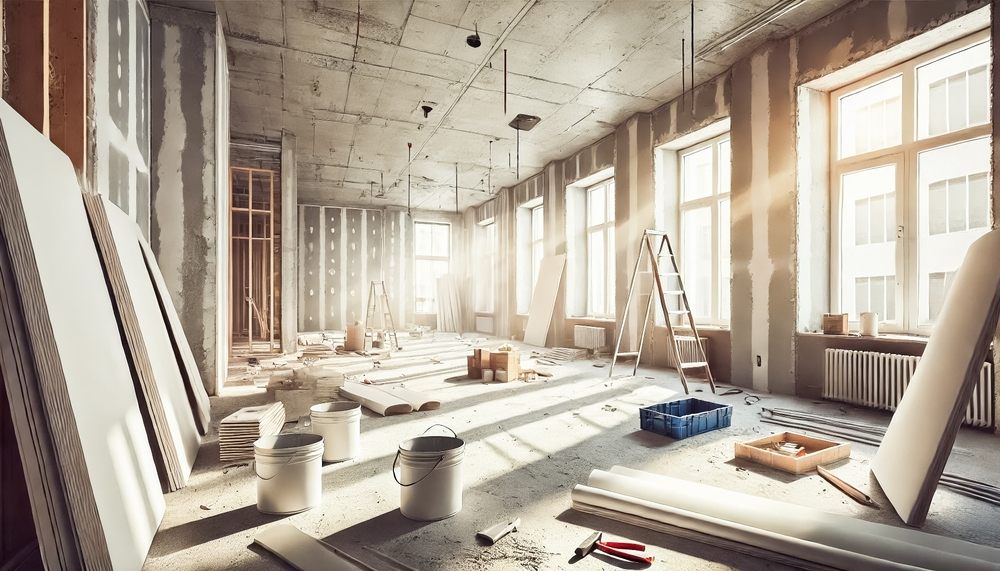
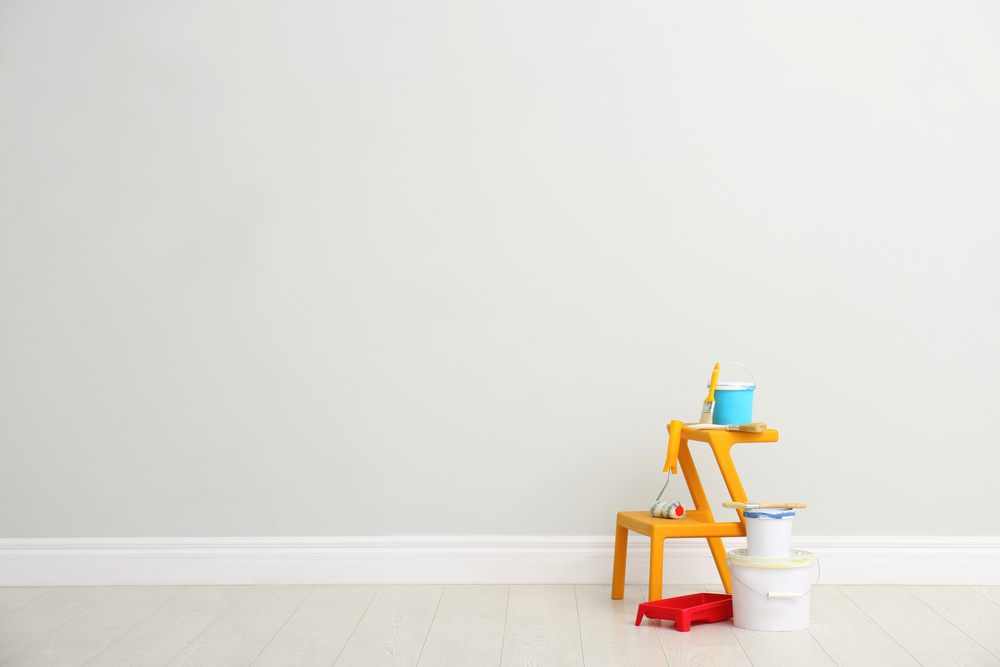
How to Install Drywall?
Here are some steps to install drywall:
-
Prepare the Wall Framing
Inspect all wall studs and ensure they are securely fastened in place. Mark stud locations with notes. Test for plumpness and levelness. Add additional support pieces if needed before hanging drywall.
-
Lay Out the Drywall
Start from an edge or corner and unroll the drywall on the floor upside down. Please keep it clean as you mark cut lines for outlets and fixtures with tape. Cut pieces to size with a utility knife.
-
Hoist the Drywall onto the Walls
With family or friends, slowly lift sheets and set them gently on wall frames. Space pieces evenly away from electrical boxes. Keep cutouts free of debris.
-
Fasten the Drywall to Walls
Use drywall screws or nails spaced 8 inches around panel edges and 12 inches throughout the middle. Drive fasteners flush but not too deep to dimple paper-facing.
-
Joint Compound and Taping
Apply the compound with a drywall knife to tape edges and screw heads in thin layers. Let dry between coats. Sand smooth for a flawless finish.
-
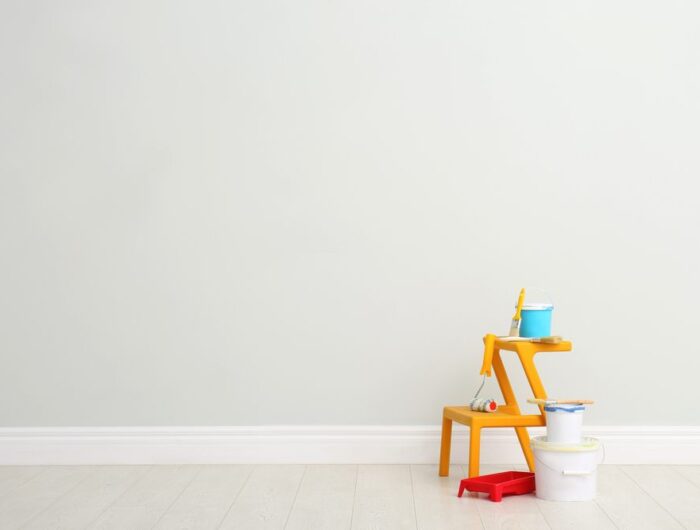
Priming and Painting
Lightly sand all surfaces and vacuum debris away. Apply primer with rollers to seal the joints fully. Let it dry, then paint the desired wall colors with rollers or brushes.


Top 10 Common Mistakes to Avoid When Installing Drywall Partitions
Installing drywall partitions yourself? Before your Interior Fit Out company in Dubai starts, you’ll want to avoid these top 10 mistakes to ensure your walls turn out perfectly. Read on to learn how to install partitions like the professionals.
-
Not Measuring and Planning Properly
If there’s one thing that can ruin your partition installation from the start, it needs to be measuring and planning. We know you’re excited to start, but don’t skimp on taking accurate room measurements beforehand. Take time to map out the layout and where your wall studs will be.
You also want to plan for items like outlets that need to pass through. Trying to install without a plan is just asking for frustration down the line when things need to line up.
Take an afternoon to crunch the numbers and draw a schematic to breeze through the physical work with confidence later on. Proper preparation will make the job much less stressful.
-
Using Incorrect Tools or Materials
When it comes to materials and tools, using the wrong stuff can screw things up for you. Grab the right materials from your Gypsum False Ceiling Contractors in Dubai.
Double-check that you have the correct thickness and type of wall drywall. Also, all tools must be in good shape—don’t even think about installing partitions with a dull saw or worn-out screwdriver.
Measure twice and cut once using the proper tools to avoid costly do-overs. Do not skimp on fasteners, tape, or mud—these basics will make or break your finished results. Invest in quality materials and tools to get professional-level partitions.
-
Neglecting to Check for Plumbing or Electrical Lines
You’ve done your homework and are ready to start installing, but don’t get too excited and forget to check for hidden lines. Before hanging your first sheet of drywall, you want to locate any electrical wires or plumbing in the walls.
We know getting on with it is tempting, but trust me – you want to avoid drowning or cutting into something and causing expensive damage. Protect yourself by carefully checking blueprints or scanning the walls with a voltage detector.
It may seem tedious, but avoiding hidden lines will save you hassle. This step at the outset ensures your safety and protects your wallet from unnecessary repairs.
-
Skipping Proper Insulation
Moving quickly without properly insulating your partitions is a mistake that can cost you dearly down the line.
As you install your walls, take the crucial insulation step. Whether for soundproofing or energy efficiency, your false ceiling company Dubai professionals will ensure you have suitable materials. We know you want to power through, but resisting noise transfer and temperature variances will make the workspace much more comfortable in the long term.
Take the time to pack batts or rolls of insulation between studs densely – you’ll be glad you did. Your partitions must work smoothly for many years, so don’t compromise on this critical foundation layer.
-
Ignoring Finishing Touches
Installing partitions takes time, and doing it right is essential. Remember some key final steps when you remember hanging the drywall. You’ll want to add trim pieces to cover the edges.
These finishing touches polish off the look. Take your time with sanding, too. It will help everything look very smooth. Careful sanding is essential before painting or applying other coatings. Another easy step to miss is caulking.
You’ll want to seal any little cracks to keep air and dust from coming through. These small details might seem tedious, but they make a big difference in the result. Taking care of the whole job, including the final touches, ensures long-lasting partitions you can be proud of.
-
Overlooking Insulation
Installing partitions takes time and attention to detail. When building the walls, remember to insulate them fully. You’ll want to cut insulation to fit snugly between the wall studs. Leaving any gaps can lead to future issues with noise traveling between rooms.
Proper insulation is also essential to keep your spaces comfortable in summer and winter. Take time stuffing all the cavities and ensuring insulation fills the wall. This extra step makes a big difference in how well your partitions function.
Not insulating correctly could lead to annoying noise problems or temperature control issues down the road. Spending time on this part now ensures your walls will block sound and drafts like they should.
-
Improper Taping and Mudding
Once your drywall is up, carefully taping and mudding the seams is crucial. Rushing or skipping steps here can seriously impact the quality of your partitions.
When taping, fully embed the drywall tape into the joint so the mud completely covers it. Leaving any gaps will cause issues later on. It is better to take time to apply multiple thin coats of drywall mud properly than one sloppy, thick one.
Thin layers have more opportunity to dry smoothly. Wait for proper drying before sanding. Checking carefully for imperfections under light will help you spot issues. Good taping and mudding are vital for ensuring you’ll be proud of neat, long-lasting walls. Avoid rework by doing it right the first time.
-
Skipping Sanding and Priming
You’ve worked hard installing your partitions, so review the final steps. When finishing up, proper sanding is essential before priming or painting.
Take your time to smooth out any imperfections in the mudding. Rough drywall can ruin your paint job later on. Be sure to vacuum away all dust before priming, too. This allows your primer to seal and prepare the surface thoroughly.
Skipping these steps can result in patches that don’t match later. The primer helps hide joint lines and makes texturing, if desired, much more accessible. You want your walls to look flawless, so don’t get lazy at the end—smooth surfaces and a good primer make for a beautiful finish you’ll enjoy for years.
-
Not Allowing for Expansion and Contraction
As you start hanging your drywall, consider how the material may expand and contract with temperature changes over the years.
Drywall isn’t static – it moves a little with the seasons. You’ll want to allow small gaps, about 1/8 inch, where the drywall meets floors, ceilings, and other fixed surfaces like window frames. These gaps let the drywall breathe without buckling or bowing over time. Leaving room for natural movement protects your walls from future issues.
Pay attention to this detail, especially with large open wall spaces. Taking some time upfront to space the drywall properly ensures your partitions stay in good condition for many years without bulging or cracks developing later on down the road.
-
Rushing the Finishing Touches:
Now that your drywall is hung, taped, mudded, and sanded, don’t let impatience cause issues at the finish line. Taking extra time to caulk, trim, and paint will make your partitions look professionally done.
When adding baseboards and other trim pieces, measure twice to cut once. Properly sealing any cracks and gaps with caulk prevents drafts and bugs later.
Before painting, you’ll also want to examine every inch for defects under bright lights. Refrain from rushing this final inspection to prevent you from having to patch spots after the paint dries. Quality materials and a smooth finish are worth slowly and correctly using. Your patience will be rewarded with great partitions for years to come.
Conclusion
You can avoid these top drywall partition pitfalls with some care and planning. Proper installation matters if you want your walls to stand firm for years to come without issues.
Remember, taking the time to get it right up front saves headaches. So before you tape and mud, take another look to ensure you haven’t missed anything on this checklist.
Successfully hanging partitions like a pro is within your reach.